My end of term lesson at Coleridge School ended with a reminder of how to make half square triangles (HSTs)-the basis of so many patchwork designs.
We made quite a pile using two methods concentrating on using a special paper template to stitch on called 'Triangles on a roll' from Quilt direct in Devon. You lay up two large pieces of fabric, one light another dark. You then stitch on all the dotted lines, cut and press. Lots of HSTs in quick time.
We also made some HSTs by the usual method of placing two pieces of fabric together, marking a line down the centre and stitching down each side of the line. I found the triangles on a roll method was by far the more accurate with virtually no trimming needed.
So, planning ahead, I have been making samples ready for the new term. The first week back will be 'stars'. Thinking about a finished block 8" square I made this small block which uses flying geese units made with the 'goose' bit being white instead of the 'usual' darker fabric. Could look stunning in bright colours or white stars on a bright background.

Then I thought "what can we do with all those HSTs we made the other week?"
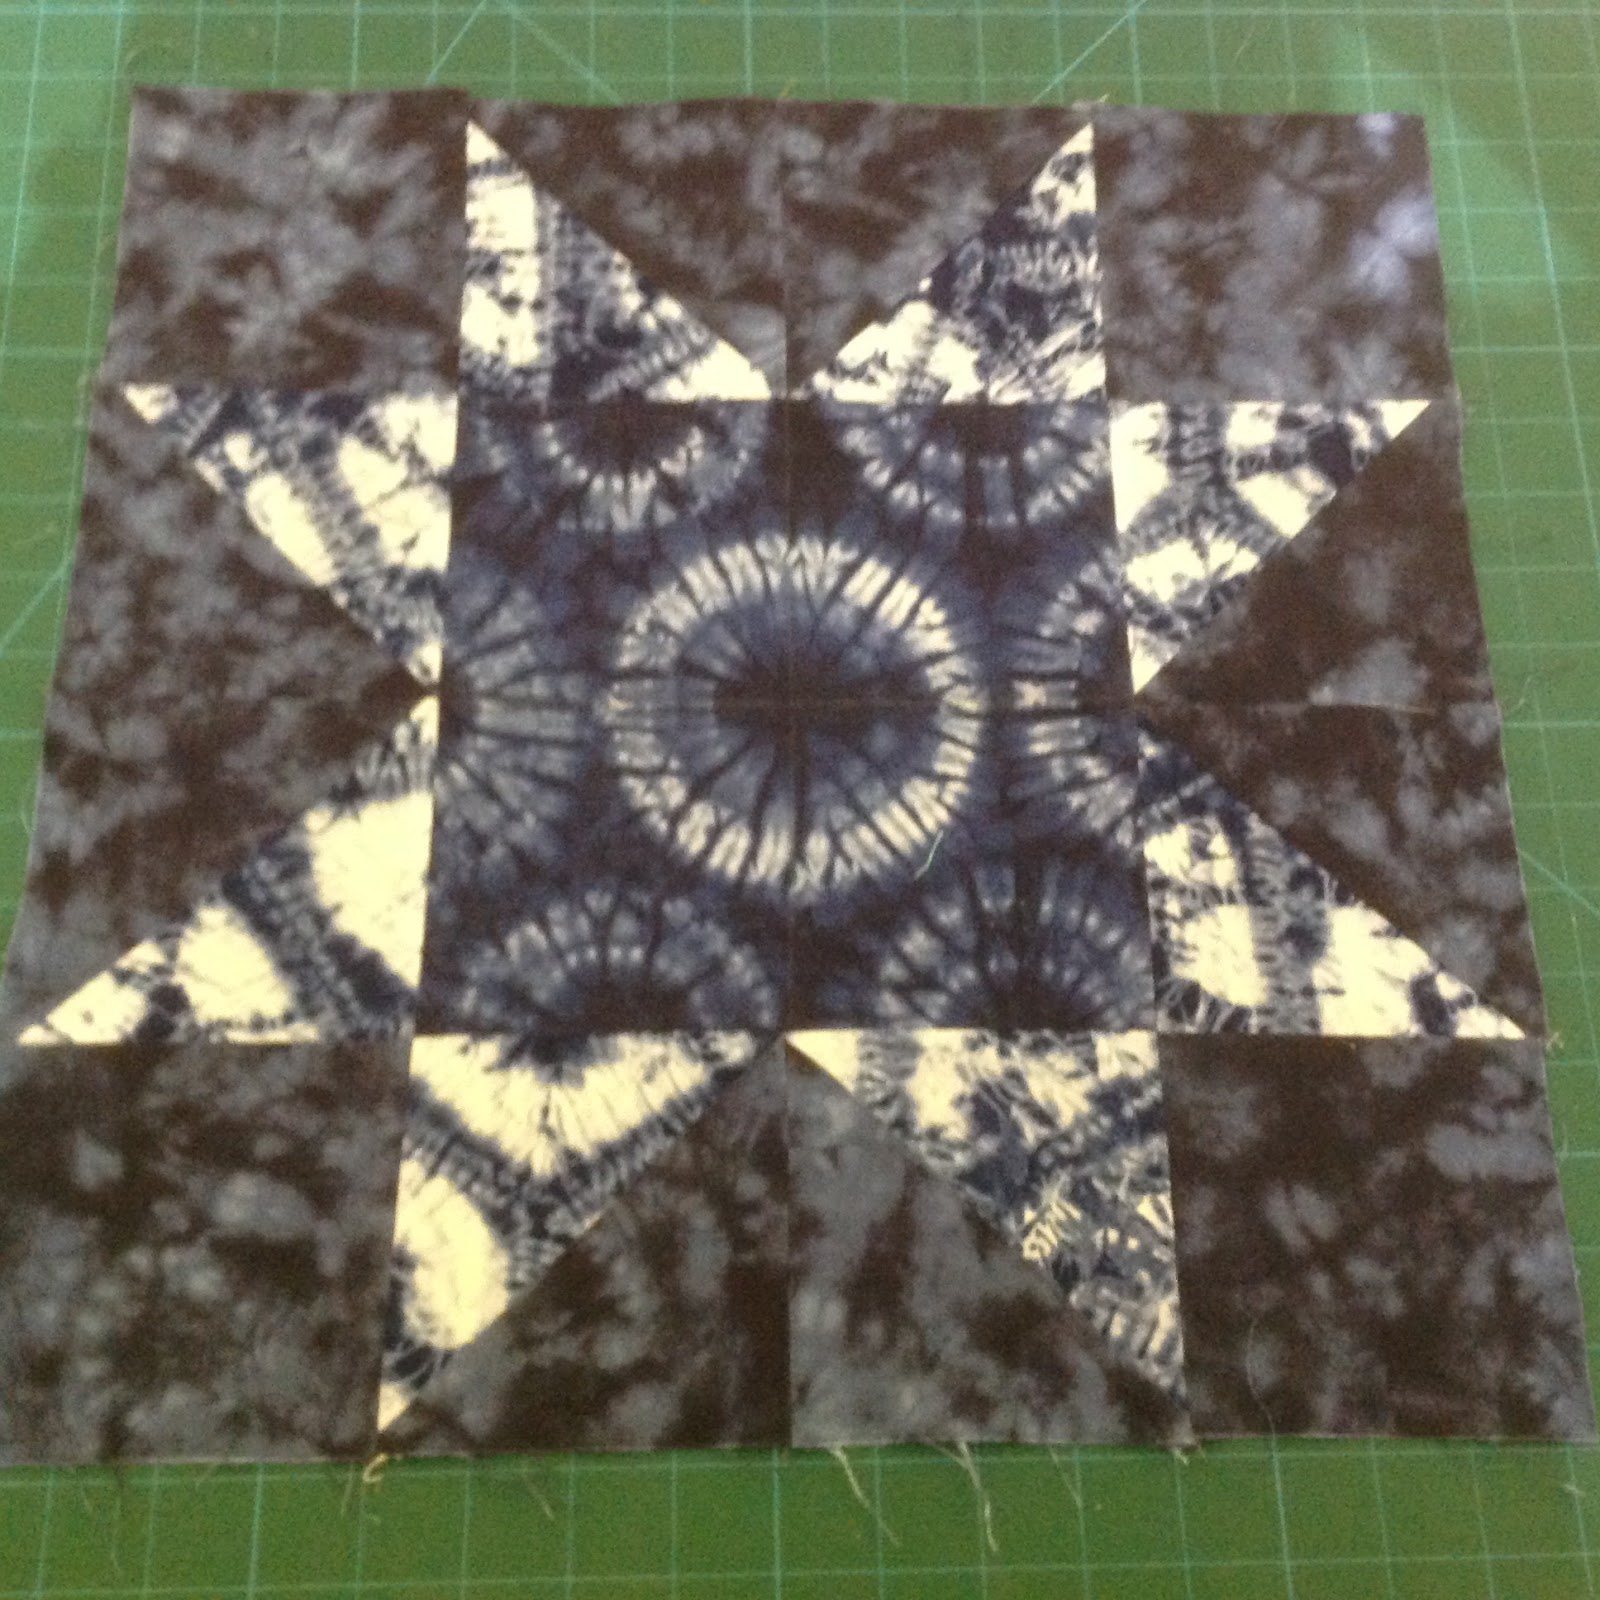
This next star block is much bigger than I usually make. It's 16" using Shibori fabric from Backstitch at Burwash manor. I love this fabric! It is much brighter in real life and you can see I took a bit of care to 'fussy cut' the centre block to show off the lovely tie dyed circle. There will be more!
Then another star came to mind...

This is the 'triangle in a square' unit. I had the template lying gathering dust so decided to use it. The unit is quite easy to make and you always make it slightly oversized and trim down. I think this is called the 'Friendship Star'.
This one is before I stitched it together.

Here, I've put it all together with a light star on a dark background. I'm not convinced I really like this block which finishes at 12" square. I feel sure alternating light and dark stars would look very good indeed.

I got quite enthusiastic about making stars and did a bit of research. I found this one from the Missouri Star Quilt Company (MSQC) on U Tube. It 's called the 'disappearing hour glass' block. The website suggests using two 10" squares but I decided to go a bit bigger and put together two fabrics, one white, one dark grey, 14" square.

Step one: place both fabrics RS together and stitch a 1/4" seam around the four edges. Then cut across all four corners.

Step two: press all seams to the dark side and arrange in a 'hour glass' formation.

Step three: stitch the four units together taking care to match the seams. I then pressed all these seams open and very flat.

Step four: measure the block. Mine came out at 18" square and you then cut the block up into thirds. The maths proved easy with 6" sections. Don't let it move around too much.
Step five: the centre unit is turned once to the right.
Step six: turn all corner units two turns to the right.
Step seven: the 'middle' units are all flipped over

Step eight: assemble all nine units, again pressing all seams open and flat.
This is known as a 'counter change' design. It's a big block with many possibilities.
Phew...any more variations? I found one more to try. Again inspired by the MSQC I found this block called 'Sweet Stars'.
Step one: cut 1 light patch 4" square, two 2.5 " light squares, one dark strip 2.5 " by 6" and another dark strip 2.5 " by 4".
Step two: take the shorter dark strip and place the small light square on the top, draw a line from top left to bottom right. Stitch and flip over, press and trim the seam.
Step three: repeat wth the longer but this time mark from top right to bottom left. Stitch, flip, press and trim the seam.

This photos shows the wrong sides once the trimming is done.

Step four: lay out the pieces like this and stitch the short strip to the four inch light patch.

Step five: stitch on the longer strip and it's done.

Repeat to make four units and stitch together.

I'm off now to buy more of that Shibori fabric...the creative bug has really kicked in.
No comments:
Post a Comment